Extending the Gatsby Novela Blog Theme
At the start of 2021 I decided to start to share more of my work through this blog. I was keen not to spend significant time when creating a place for content, so I decided to use an off the shelf blog template that could be customised. For performance, cost and SEO I chose the GatsbyJS static site generator and one of the many open-source themes.
The Novela theme by narative was chosen however there were a number of missing features and adjustments I felt I needed to add. This post covers how I set up and customised the theme in the hope it may be useful for someone else one day.
Shadowing Components
Gatsby has the concept of theme shadowing. This is very powerful and allows you to create your own replacement versions of any component found in a theme. It is achieved through adding a folder structure into your project that mirrors that of the theme. On top of this you then add any files you wish to replace.
My customisations started by copying some of the core components to change subtle CSS such as padding, fonts and margins. I also copied the main home page to add the large author bio at the top of the page. Most of the other changes on this page build on this technique in addition to adding completely new components.
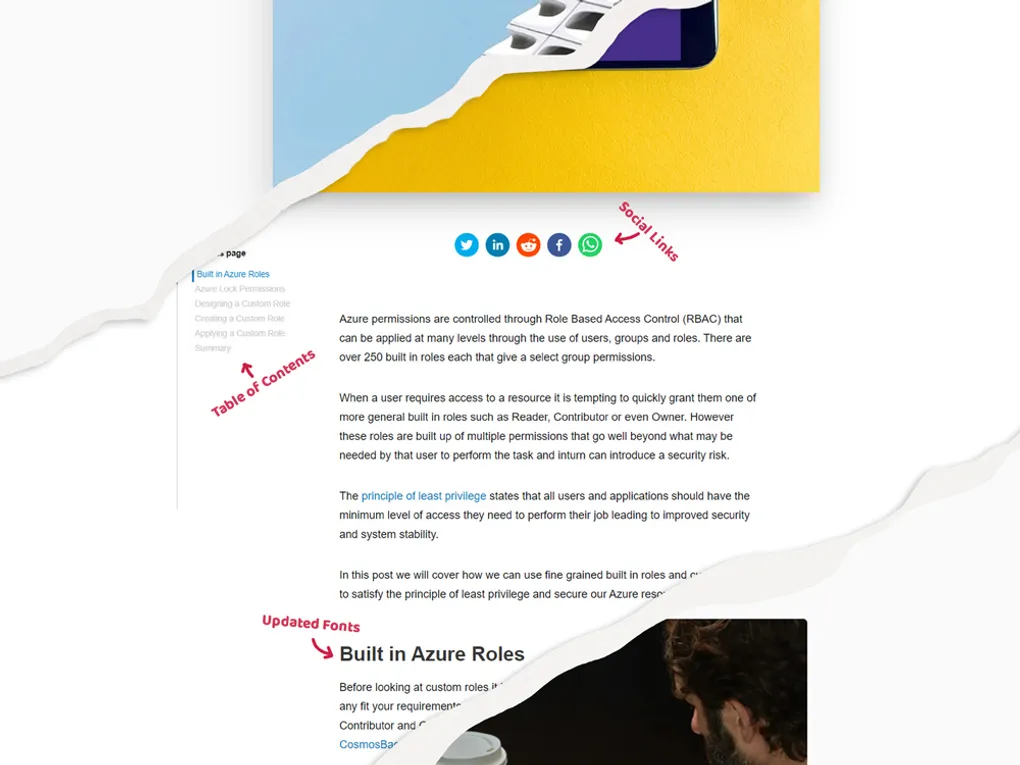
Adding Social Links
The Novela theme features a sharing URL link at the top of each page however I wanted to allow easier sharing of the posts to social media platforms.
The react share npm package is the perfect fit for this and could be quickly added. There is a detailed guide to its usage on code with linda.
To insert the links into the pages I created a new Share component (below) before adding it into a modified copy of the article.template.tsx file both above and below the ArticleBody.
import styled from "@emotion/styled";
import { IArticle } from '@types';
import {
  FacebookShareButton,
  FacebookIcon,
  LinkedinShareButton,
  LinkedinIcon,
  TwitterShareButton,
  TwitterIcon,
  WhatsappShareButton,
  WhatsappIcon,
  RedditShareButton,
  RedditIcon
} from "react-share";

export interface IShare {
  article: IArticle
  siteUrl: string
  showSmall: boolean
}

const Share: React.FC<IShare> = (prams) => {

  const { slug, title } = prams.article;
  const url = prams.siteUrl + slug + "/";
  const twitterHandle = ""
  const size = 40

  return (
    <ShareContainer>
          <TwitterShareButton url={url} title={title} via={twitterHandle} >
                <TwitterIcon  size={size} round={true}  />
          </TwitterShareButton>

          <LinkedinShareButton url={url} >
            <LinkedinIcon  size={size} round={true}/>
          </LinkedinShareButton>

          <RedditShareButton url={url} title={title} >
            <RedditIcon  size={size} round={true} />
          </RedditShareButton>

          <FacebookShareButton url={url}  >
                <FacebookIcon  size={size} round={true}/>
          </FacebookShareButton>

          <WhatsappShareButton url={url} title={title}>
               <WhatsappIcon  size={size} round={true}/>
           </WhatsappShareButton>
    </ShareContainer>
  );
};

const ShareContainer = styled.section<{
}>`
  text-align:center;

  button{
    margin:5px;
  }

`;

export default Share;
SEO and SiteMap
Overall, the Novela theme is very good for SEO and has a near perfect Lighthouse score however there were a few areas to extend.
The Novela theme does not generate a sitemap.xml by default. After reading Josh Comeau post on SEO Friendly Sitemaps I learnt about the Gatsby Sitemap Plugin. This was quick to add however it was important not expose the posts marked as secret. Therefore in the Gatsby config I specified a custom query and serializer to filter these out.
{
      resolve: `gatsby-plugin-sitemap`,
      query: `
        {
          site {
            siteMetadata {
              siteUrl
            }
          }
          allSitePage(filter: {}) {
            edges {
              node {
                path
                context {
                  article {
                    secret
                  }
                }
              }
            }
          }
      }`,
      serialize: ({ site, allSitePage }) => {
        return allSitePage.edges
          .filter(({ node }) => (
            !(node.context && node.context.article && node.context.article.secret === "true")
          ))
          .map(({ node }) => {
            return {
              url: site.siteMetadata.siteUrl + node.path,
              changefreq: 'daily',
              priority: 0.7,
            };
          });
      },
    }
Canonical tags are a very important SEO tool to establish what the Canonical URL should be and what version of the page should be indexed. These are added to the HTML head using Helmet as part of the theme but only is you specify a URL in each page, something that I did not want to do.
To automatically add a canonical tag to every page I added the Gatsby plugin for Canonical Urls.
The RSS Feed
An RSS feed is generated by the Novela theme as part of the build and a link attribute added to the head.
There is however not an icon on any pages to this feed, this was quickly fixed by a new icon to a copy of the Navigation.Header.tsx file. You can also use this technique to add any other icons to the header which then appear on every page.
import React from "react";

import { Icon } from '@types';

const RssIcon: Icon = ({ fill = "#08080B" }) => (
 <svg
    width="24"
    height="25"
    viewBox="0 0 24 25"
    fill="none"
    xmlns="http://www.w3.org/2000/svg"
  >

 <path stroke="null" id="svg_5" fill={fill} d="m7.571447,20.663615c0,1.733024 -1.401006,3.137624 -3.129587,3.137624c-1.728281,0 -3.129337,-1.4045 -3.129337,-3.137624c0,-1.733323 1.401056,-3.137973 3.129337,-3.137973c1.728581,0.00015 3.129587,1.4047 3.129587,3.137973l0,0z"/>
  <path stroke="null" id="svg_6" fill={fill} d="m1.312523,8.987028l0,4.233382c5.819322,0 10.553909,4.746002 10.553909,10.580828l4.220705,0c0,-8.167979 -6.628201,-14.81421 -14.774615,-14.81421l0,0z"/>
  <path stroke="null" id="svg_7" fill={fill} d="m1.312523,1.298889l0,4.286615c10.018808,0 18.168582,8.170078 18.168582,18.215735l4.273574,0c-0.000051,-12.408261 -10.066983,-22.50235 -22.442156,-22.50235l0,0z"/>
  </svg>
);

export default RssIcon;
...
<SharePageButton />
<IconWrapper
onClick={()=>window.open("/rss.xml")}
data-a11y="false"
aria-label="RSS Feed"
title="Rss Feed">
<RssIcon fill={fill} />
</IconWrapper>
<DarkModeToggle />
...Table of Contents
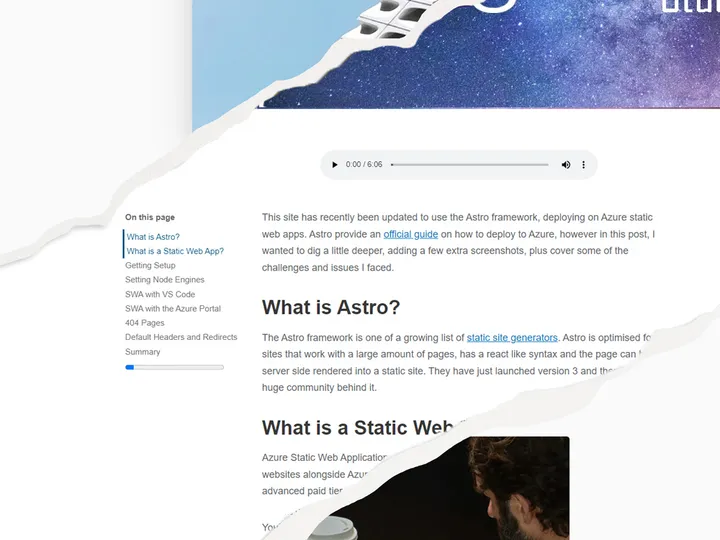
I was keen to add a table of contents to the article page. This was partly to help users but it also was to help me write clearer and more structured posts. This was the most complicated of all the changes.
The theme has an ArticleAside component that sits fixed in the left and right gutter of the page. This is automatically hidden when the page is not on desktop browser, when it overlaps with images or overlaps with other page items. The ArticleAside is used for the progress bar however was perfect for the location of the fixed table of contents. I created a new table of contents component and placed it inside a new ArticleAside in a copy of the article.tempalte.tsx file.
<ArticleAside contentHeight={contentHeight} >
   <TableOfContents article={article.title}/>
</ArticleAside>
<ArticleAside contentHeight={contentHeight}>
   <Progress contentHeight={contentHeight} />
</ArticleAside>
The new component uses a static query to get the table of content which is automatically generated in the graph data. This is filtered in the JavaScript and rendered on the page.
The highlighting of the current section is done using a Javascript IntersectionObserver. For the most part this works however has some limitations due to how the Novela theme builds the pages. There is a good article on bram.us that covers Highlighting Navigation in detail.
The full component TableOfContents can be seen on GitHub.
Further Reading
The official theme documentation is very comprehensive and a great starting place. The code is also searchable on the Narative GitHub repo
If you are looking for further customisations I would recommend reading Using Novela Theme with Modifications by https://reckoning.dev/ that inspired me to start making modifications.
Summary
The Novela theme is a great starting point for any Gatsby blog. Using component shadowing and a number of NPM packages it was easy to extend the theme making the content more shareable, usable and SEO friendly.
The code for all the modifications can be found on my GitHub repository.