Enhancing Accessibility, Building a Read This Page feature with Azure Speech Service and C#

I often use a Chrome plug-in to read web pages allowed, something I find very useful. I have noticed that more and more websites are offering the ability to listen to the page, seeing it recently as a addition to some Microsoft blogs. This is a great accessibility feature that can help everyone and it is something I have wanted to add to my blog for some time.
It is possible to read a web page with the browsers built-in Web Speech API, however the output is still very robotic and browser support is mixed. Azure speech service on the other hand offers a wide range of natural-sounding voices that we can save to an audio file so everyone receives the same high quality experience.
In this post, I am going to show you how I implemented the ability to listen to a page with a natural-sounding voice using the Azure speech service. If you wish to see the code you can find it on GitHub.
Design
The plan is to take the MDX markdown files that make up this blog, reformat them and pass them to Azure Speech Service, using a C# console application. The speech service allows us to convert text to speech, outputting WAV file bytes.
To optimize cost, I will convert the WAV bytes to an MP3 file before storing it in Azure blob storage. The MP3 files can be served via a CDN and then directly played in any web browser using the HTML5 audio control.
Azure Speech Service
The Azure speech service provides both speech-to-text and text-to-speech conversion. It can be used in several ways and easy to use SDKs are provided for a range of languages.
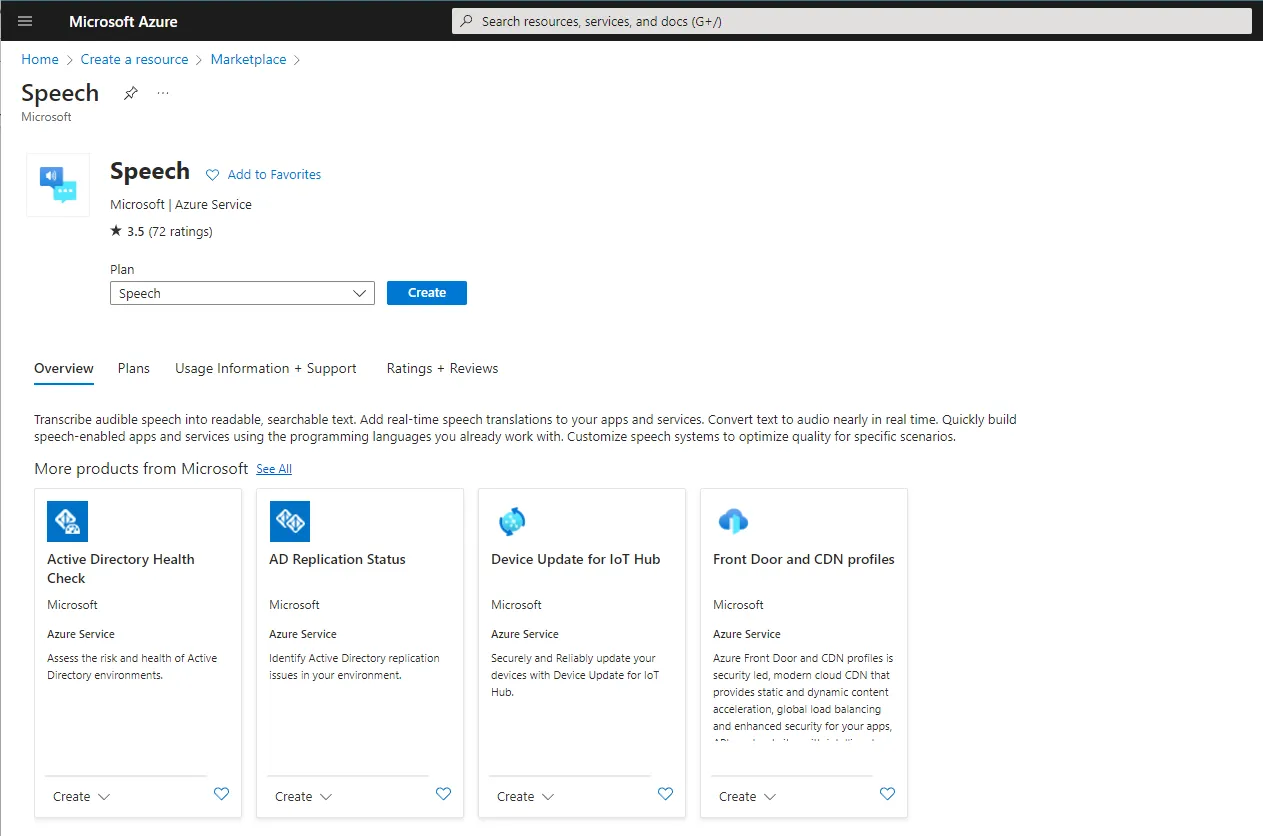
To get started, go to the Azure portal and from the marketplace create a Speech resource. This comes in two pricing tiers, free and standard. For this code, we can use the free tier which, at the time of writing will allow 500K char/month, plenty for this use. Once the resource is created, make a note of the Key and Region as this will be needed in our C# code later.
At this point, we do not need to configure any other details. It is however worth looking around the speech studio as you can try out the many voices in the Voice Gallery amongst other things. In this project, after trying a number of voices I did find they ranged in how natural they sounded, with the US voices seeming more complete.
The Azure speech service does have quotas and limits. One of the limits is that the audio file is limited to a maximum of 10 minutes in duration, though for these posts that is not an issue.
Building the Console App
For this project, I created a C# 7 console app that takes in the file path of the MDX file to convert. We can utilise the Microsoft.CognitiveServices.Speech Nuget package to interact with the Azure Speech Service.
There are lots of great examples of how to use this SDK on GitHub.
using Microsoft.CognitiveServices.Speech;
using Microsoft.CognitiveServices.Speech.Audio;

async Task ConvertTextToAudio(string key, string region, string inputFile)
{
    var speechConfig = SpeechConfig.FromSubscription(key, region);
    speechConfig.SpeechSynthesisVoiceName = "en-US-SaraNeural";

    using (var synthesizer = new SpeechSynthesizer(speechConfig, null as AudioConfig))
    {
        synthesizer.SynthesisCompleted +=   (s,e) => {
            SaveOutput(e.Result.AudioData, inputFile);
        };

        string text = await File.ReadAllTextAsync(inputFile);
        using (var result = await synthesizer.SpeakTextAsync(text))
        {
            if (result.Reason == ResultReason.SynthesizingAudioCompleted)
            {
                Console.WriteLine($"Speech synthesized Complete");
            }
            else if (result.Reason == ResultReason.Canceled)
            {
                var cancellation = SpeechSynthesisCancellationDetails.FromResult(result);
                Console.WriteLine($"CANCELED: Reason={cancellation.Reason}");

                if (cancellation.Reason == CancellationReason.Error)
                {
                    Console.WriteLine($"CANCELED: ErrorCode={cancellation.ErrorCode}");
                    Console.WriteLine($"CANCELED: ErrorDetails=[{cancellation.ErrorDetails}]");
                    Console.WriteLine($"CANCELED: Did you update the subscription info?");
                }
            }
        }
    }
}
To create an instance of the SpeechSynthesizer object we need a speech config and audio config objects. In the speechConfig we configure the key and region (from the previous step) and select our voice from the Voice Gallery. In this code, we do not need an audio config as we will be using the completed event to capture the bytes. If you wish to save direct to a WAV file or process the data as it is being converted, an instance of the Audio config can help.
To trigger the conversion we then call the synthesizer.SpeakTextAsync(text)) method and output the success value to the console. Once the conversion is complete we will receive an event containing the WAV data in a byte array which we can convert and save.
File Formats
Azure speech service outputs bytes in WAV format. Although these can be played directly in the browser, they are large and uncompressed. For efficiency we can convert these to either MP3 or OGG format, although OGG is not as widely supported.
For this, we can add the NAudio.Lame Nuget package and extend the code to save out to a MP3 file.
void ConvertToFiles(byte[] wavFile, string fileName)
{
    using (var inputStream = new MemoryStream(wavFile))
    using(var waveReader = new WaveFileReader(inputStream))
    using (var lameWriter = new LameMP3FileWriter(fileName, waveReader.WaveFormat, 128))
    {
        waveReader.CopyTo(lameWriter);
    }
}
Tidy up the markdown
An advantage when working with MDX markdown files rather than HTML means that the application is less likely to read markup information. However, there are several things in markdown that we do not want it to read such as the formatting markers.
Ideally, we could transform the MDX markdown into SSML format. This means we could have the recording pronounce bold and italic text with different emphases for example. This however is a complex task so for now I have used a set of regular expressions replace to extract alt text from links and images and remove formatting from heading, bold and italic text.
static string RemoveMdxFormatting(string mdxInput)
{
    var result = Regex.Replace(mdxInput, @"[^A-Z]#+\s", ""); // removes headings
    result = Regex.Replace(result, @"!?\[(.+?)\]\(.+?\)", "$1");//pulls alt text from images and links
    result = Regex.Replace(result, @"(\*\*|\*)(.*?)(\*\*|\*)", "$2");//remove bold and italic formatting
    result = Regex.Replace(result, @"`{3}(?:[a-z]+)?\s+[\s\S]*?\n`{3}", "");//remove code samples
    result = Regex.Replace(result, @"<a\s+[^>]*>(.*?)<\/a>", "$1");//remove hyperlinks
    return result;
}
User Interface
Now that we have MP3 files, I have decided to upload them to Azure BLOB storage. It is then easy to place a CDN in front of Azure BLOB storage to allow access to them on any website.
We can use the standard HTML5 audio component to play the files. This component is widely supported across a range of browsers. I only have the files in MP3 format at the moment, however, if we also convert them to OGG format we could add it as a second source for use where they are supported.
<audio controls>
   <source src="output.mp3">
</audio>
By default, the player will automatically download the MP3 file as soon as the web page is loaded. This could be quite inefficient as the majority of people may never play the file. We can fix this by adding on the preload attribute. This can either be set to auto (the default value) none or metadata. The advantage of using metadata is that it will at least show the duration of the file without pulling the entire file down.
<audio controls preload="metadata">
    <source src="output.mp3">
</audio>
It is possible to style this control or use JavaScript to create your UI. For now, however, I’ve not done this to make implementing the feature quicker.
Summary
In this post, we have seen how we can quickly use the Azure Speech Service and its C# SDK to take the text files that make up this blog and generate MP3 files. We then saw how we could use the standard HTML5 player to allow users to listen to the page.
There is much more we can add however hopefully this offers some inspiration for you to add it to your website or blog. If you would like to download the code, it can be found on GitHub.
Title Photo by freestocks on Unsplash